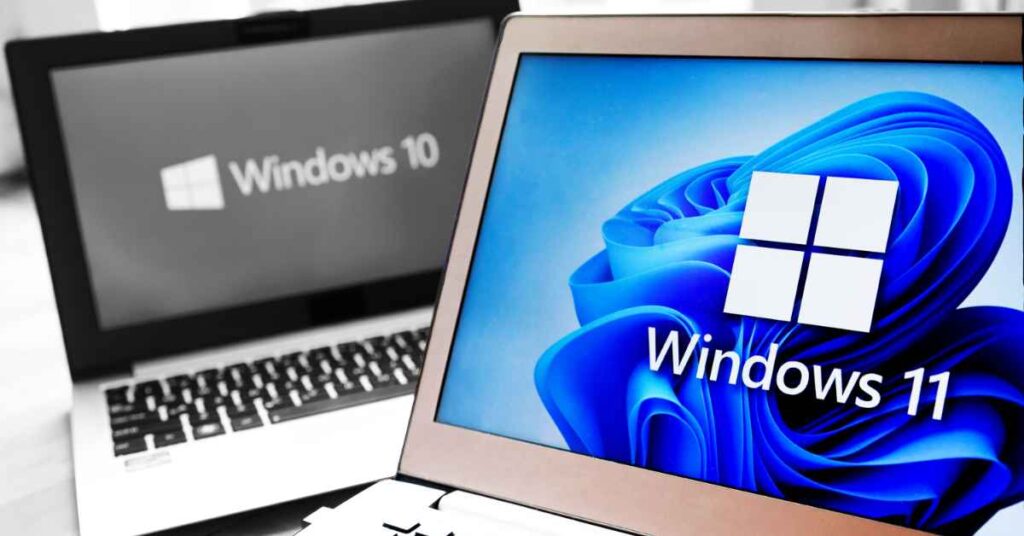
The countdown is on – Microsoft has officially announced that Windows 10 will reach the end of life on October 14, 2025. That means no more security updates, feature improvements, or official support after that date. If you’re still running Windows 10, it’s time to start planning your move to Windows 11 to stay protected and up to date.
The good news? If your PC is currently running Windows 10 version 22H2 and has all the latest updates installed, you can upgrade to Windows 11 for free. Microsoft still allows eligible devices to make the jump without needing to buy a new license – and the upgrade process keeps your files and apps intact.
In this guide, we’ll walk you through how to upgrade from Windows 10 to Windows 11, explain the two official upgrade methods (Windows Update and Installation Assistant), and answer some common questions people have before upgrading.
Why You Should Upgrade Before Windows 10 Support Ends
When Microsoft stops supporting Windows 10, your computer will still work – but it’ll be more vulnerable to security risks. Without regular updates, patches, and driver support, even simple things like browsing the web or installing new software could expose your system to new threats.
Also, many newer apps and games will start requiring Windows 11 in the near future. Upgrading now means you’ll be ready for future updates, features, and compatibility improvements.
Another benefit? Windows 11 is built with better performance optimizations and a more modern interface, plus it integrates better with features like Copilot AI, DirectStorage for gaming, and Windows Hello security.
Before You Begin: Back Up Your Files
Even though the upgrade process is designed to keep your files, apps, and settings intact, it’s always smart to create a full backup before starting.
You can use:
- The built-in Backup and Restore (Windows 7) tool,
- File History, or
- A third-party solution like Macrium Reflect or Acronis True Image.
Having a backup ensures that if anything goes wrong during installation, you can easily roll back to your previous Windows 10 setup.
How to Upgrade to Windows 11 Version 25H2 Using Windows Update
The easiest way to move from Windows 10 to the latest version of Windows 11 (25H2) is through the Windows Update feature.
Here’s how to do it step-by-step:
- Open the Settings app on your Windows 10 computer. You can press Windows + I to open it quickly.
- Go to Update & Security.
- Select Windows Update from the left panel.
- Click the Check for updates button.
- If your PC meets the system requirements, you’ll see an option to “Download and install Windows 11.” Click on it to start the process.
- Once the files are downloaded, select Restart now to begin installation.
After your computer reboots, it will automatically upgrade to Windows 11 version 24H2 first. Then, you’ll need to install a small enablement package (eKB) to switch to version 25H2 – the latest build.
To complete that part:
- Open Settings again, now on Windows 11.
- Go to Windows Update.
- Click Check for updates once more.
- You should now see the option to Download and install version 25H2.
- Restart your PC when prompted.
Once finished, you’ll be running the newest version of Windows 11 – ready for future updates and long-term support.
How to Upgrade Using the Windows 11 Installation Assistant
If the update isn’t showing up through Windows Update, or if your PC is having trouble detecting it, Microsoft also offers another official tool called the Windows 11 Installation Assistant.
This method is great for users who prefer to manually trigger the upgrade process. It still performs an in-place upgrade, so your personal files, installed applications, and settings will remain untouched.
Here’s what to do:
- Visit the official Microsoft Support page for Windows 11 downloads.
- Scroll to the “Windows 11 Installation Assistant” section.
- Click Download Now.
- Once downloaded, open the Windows11InstallationAssistant.exe file.
- When prompted, select Accept and install.
The tool will check compatibility, download all the required files, and then install the new version of Windows 11 – automatically keeping your files and programs safe.
When everything is complete, restart your computer, and you’ll be greeted by the updated Windows 11 desktop.
Frequently Asked Questions About the Upgrade
Q. When does Windows 10 support officially end?
Windows 10 will reach its end of life on October 14, 2025. After that date, Microsoft will no longer release security patches, bug fixes, or technical support for any consumer editions of the OS.
Q. Can I still upgrade from Windows 10 to Windows 11 for free?
Yes – Microsoft has confirmed that devices running Windows 10 with a valid activation can still upgrade to Windows 11 for free, as long as they meet the system requirements. Once upgraded, your new Windows 11 installation will automatically activate.
Q. What version of Windows 11 will I get?
If you upgrade via Windows Update, your PC will first move to Windows 11 version 24H2. After that, a small enablement package will take you to version 25H2, which is the latest build as of 2025.
If you use the Installation Assistant, it will install 25H2 directly.
Q. Will upgrading delete my files or apps?
No. Using the in-place upgrade method ensures that your files, apps, and most settings are retained. However, it’s always recommended to create a full backup before you begin – just in case something unexpected happens.
Q. What are the minimum system requirements for Windows 11?
Your PC needs to meet the following specifications:
- A 64-bit processor (1 GHz or faster with at least 2 cores)
- 4 GB RAM or more
- 64 GB or more of available storage
- TPM 2.0 (Trusted Platform Module) enabled
- Secure Boot support
- DirectX 12-compatible graphics
You can use the PC Health Check app from Microsoft to confirm whether your device qualifies.
Q. What if my computer doesn’t meet Windows 11’s requirements?
If your computer doesn’t support Windows 11, you can continue using Windows 10 temporarily, but remember that updates will stop in 2025.
Microsoft will offer an Extended Security Updates (ESU) program that provides critical patches for one additional year, but it’s a paid option aimed mainly at businesses.
Alternatively, you could consider:
- Installing Windows 11 unofficially on unsupported hardware (not recommended by Microsoft), or
- Upgrading your hardware to meet the requirements.
Q. Can I roll back to Windows 10 if I don’t like Windows 11?
Yes, but only within 10 days of upgrading. You can roll back using the Recovery settings found in Settings > System > Recovery.
After 10 days, the previous installation files are automatically deleted to free up space.
Q. How long will Windows 11 version 25H2 be supported?
Microsoft will support Windows 11 version 25H2 for:
- 24 months for Home and Pro editions, and
- 36 months for Enterprise and Education editions.
That means Home and Pro users can expect updates until late 2027, while enterprise versions will be supported through 2028.
Tips for a Smooth Upgrade
To make sure your upgrade goes smoothly, keep these quick tips in mind:
- Disconnect unnecessary peripherals (like USB drives or external hard disks) before starting.
- Update your drivers and BIOS/UEFI firmware beforehand.
- Free up disk space – aim for at least 20GB of free storage.
- Temporarily disable antivirus software during installation if it causes interference.
- Stay plugged in if you’re upgrading on a laptop.
Following these steps reduces the chance of interruptions or compatibility issues.
Final Thoughts
With Windows 10’s end of life fast approaching, now is the ideal time to upgrade to Windows 11 version 25H2. It’s a smoother, faster, and more secure OS that ensures your PC stays protected and compatible with the latest features.
You can either let Windows Update handle the upgrade automatically or use the Installation Assistant if you prefer a hands-on approach. Just remember to back up your files and check your system compatibility before starting.
Making the switch early not only prepares you for the next wave of features but also saves you from last-minute stress when Windows 10 support officially ends in October 2025.